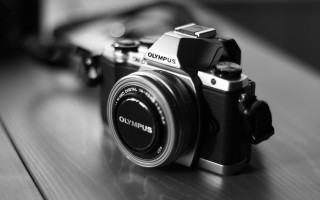
Glow Effect and Focal Black and White Effect using Picasa
Glow effect and Focal black & white effect are the two important effects in Google Picasa. You can use these effects on certain pictures to make it more beautiful. The advantage of using Google’s Picasa is that it is a freeware. It is user friendly also.
Launch Picasa in your desktop. Picasa will search for all the pictures in the computer and it will show all the pictures present in your computer. Now, go through the pictures and select the picture, which you want to edit. Double click the picture to open it in the editor window. You can see the different editing options in the left side of the window.
Select the ‘Effects’ option from that list. Now let us try the Glow effect first. Left click on the ‘Glow’ option shown under the effects list. You can see two variable parameters under the Glow option. They are intensity and radius. Change it accordingly to get the desired effect.
Once you have made all the changes, right click on the picture and select the save option from the dropdown menu to save the edited picture.
Let us try the Focal black & white effect on an image. Select an image for which the effect is to be applied. Select the effects option. You can see a number of effects listed under the effects option. Select the Focal B&W option from the list. You can see two variable parameters listed under this option. They are size and sharpness. A cross hair will appear above the image. Place it on the desired object which is to be focused. Vary the size option depending on the size of the object and vary the sharpness according to your choice. After making the necessary changes, click on the Apply option and then save the image by pressing ‘Ctrl+S’.
You can see the original image, Glow effect added image and Focal B&W effect added image below.


